
Beyond the Box: The Deep Dive into Custom NerdMiner Firmware
The Deep Dive into Custom NerdMiner Firmware
Most people unbox their NerdMiner, plug it in, watch the numbers scroll for five minutes, and never touch the settings again. That’s fine for tourists. But if you are reading this, you aren't a tourist. You’re a builder.
The stock firmware on most ESP32 miners (usually pre-flashed version 1.6.0 or older) is solid, but it’s safe. It’s designed to be stable, not fast. If you want to squeeze every last drop of hashing power out of that silicon, or if you want a user interface that actually provides meaningful data, you need to leave the "stock" world behind.
Why Bother Flashing? (The ROI of Tinkering)
We aren't just talking about changing the background color. Flashing custom firmware like BitMaker or the latest Public Pool build fundamentally changes how the ESP32 chip communicates with the mining pool.
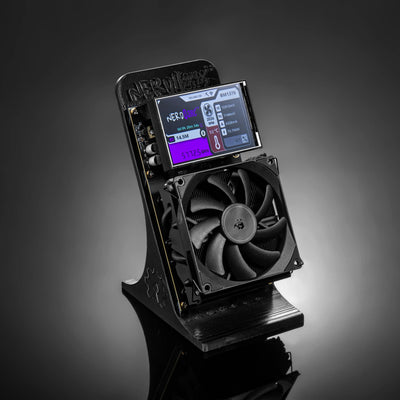
- Overclocking Capability: Stock firmware often locks the core clock. Custom forks allow you to push the frequency, potentially squeezing an extra 5-10 KH/s out of the same board (at the cost of heat—add a fan!).
- Pool Hopping: Advanced firmware lets you save multiple WiFi and Pool configurations, meaning you can switch from a solo pool (high risk) to a PPLNS pool (small drip rewards) without a full factory reset.
- Visuals & UI: The newer builds include QR codes that actually scan, global network difficulty stats, and even "Halving Countdowns" directly on the screen.
Phase 1: The Prep Work (Don't Skip This)
Before you even open a browser, you need to check your hardware. 90% of "bricked" devices aren't broken; they are just connected poorly.
You cannot use the charging cable that came with your vape or your cheap headphones. Those often lack the D+ and D- data pins required for serial communication. You need a high-quality, high-speed USB-C data cable. If your computer doesn't make the "ding" sound when you plug it in, stop. Get a better cable.
The CP210x Drivers
The ESP32 chip communicates via a virtual COM port. Windows often fails to install this automatically. Search for "Silicon Labs CP210x Universal Windows Driver" and install it manually. Without this, the web flasher will just sit there spinning.
Phase 2: Choosing Your Firmware Flavor
Not all code is created equal. Depending on your goals—pure speed vs. ease of use—you should choose your fork carefully.
- Flavor A: The "Public Pool" (Pure Open Source): This is the community standard. It is lightweight, stripped of bloatware, and highly efficient. Use this if you want maximum stability and the highest possible hashrate with zero "extras" slowing down the processor.
- Flavor B: BitMaker (Feature Rich): BitMaker adds a layer of polish. It features a graphical user interface (GUI) accessible from your phone browser that looks like a modern app. It allows for easier configuration of fan speeds (if you modded a fan pin) and detailed logs. The trade-off? It uses slightly more memory.
Phase 3: The "Boot Mode" Secret
If you try to flash and get a "Failed to Connect" or "Timed Out Waiting for Packet Header" error, your device is not in Boot Mode.
The Finger Gymnastics:
- Hold down the BOOT button (usually the bottom button on the right side).
- While holding BOOT, press and release the RESET button (left side or top).
- Release the BOOT button.
The screen will likely stay black. This is good! It means the chip is waiting for new code. Now, try the web flasher again.
After flashing, if your screen looks "scrambled" or has static, you likely flashed the firmware for the wrong screen type (AMOLED vs LCD). Check your receipt to see which board you actually bought.
Did You Actually Brick It?

Sometimes, hardware just fails. If your board is truly dead, grab a fresh V3 pre-flashed with the latest stable code.
Ready for the Next Level?
If you've mastered the ESP32 and want to push real ASIC hashrate on your desk, it's time to upgrade.